

Mum Planting Guide
Each year I receive tons of questions about mum care! And the number one question is always, “What am I doing wrong? Why don’t my mums come back?” Here is a step by step guide how to plant mums for them to have a better chance to perennialize! Also you can click HERE to watch a demonstration how to plant!
Timing...Plant early in the season. Once you see that mums are available in September, use the tips from our buying guide to purchase beautiful mums from a local source, like Barnside Flower Farm. Mums need time to grow and establish their root system before the cold temperatures of winter set in; therefore plant early is the #1 rule!
Plant mums in a sunny location. Mums prefer all-day sun exposure, but if you had to pick between morning or afternoon sun, choose a location that receives afternoon sun.
Dig a hole that is a few inches deeper and about 4 inches wider than your root ball. This will take some extra muscle work, but it will be worth it!
Remove your pot from the plant base. If you are struggling to remove the pot, place the base of the stem between your thumb and pointer finger. Using your other hand tap the edge of the perimeter of the pot. The pot should slide off. Need a demonstration? check out HERE
If your soil has a good amount of humus (It will crumble fairly easy when the soil is dry) crumble the soil and fill the hole till the top of the root ball is approximately one inch lower than the existing landscape. The loose soil allows your roots to grow out easier. Especially since they have a relatively short time to establish before winter sets in. Once you have the root ball positioned use your hands and loosen up the roots in the rootball. If you break a few along the way that is ok!
NOTE: If your soil is poor, meaning high in clay, use a compost/topsoil mix to fill in around your mum. Your mums roots will thank you!
Once your mum is level in the hole, start crumbling your soil around the sides of the rootball. Again use compost/topsoil mix if you have poor soil. Slightly compact the soil to keep the plant in place. Also, cover the top the rootball with soil as well. Your soil should be at the same level as the existing soil.
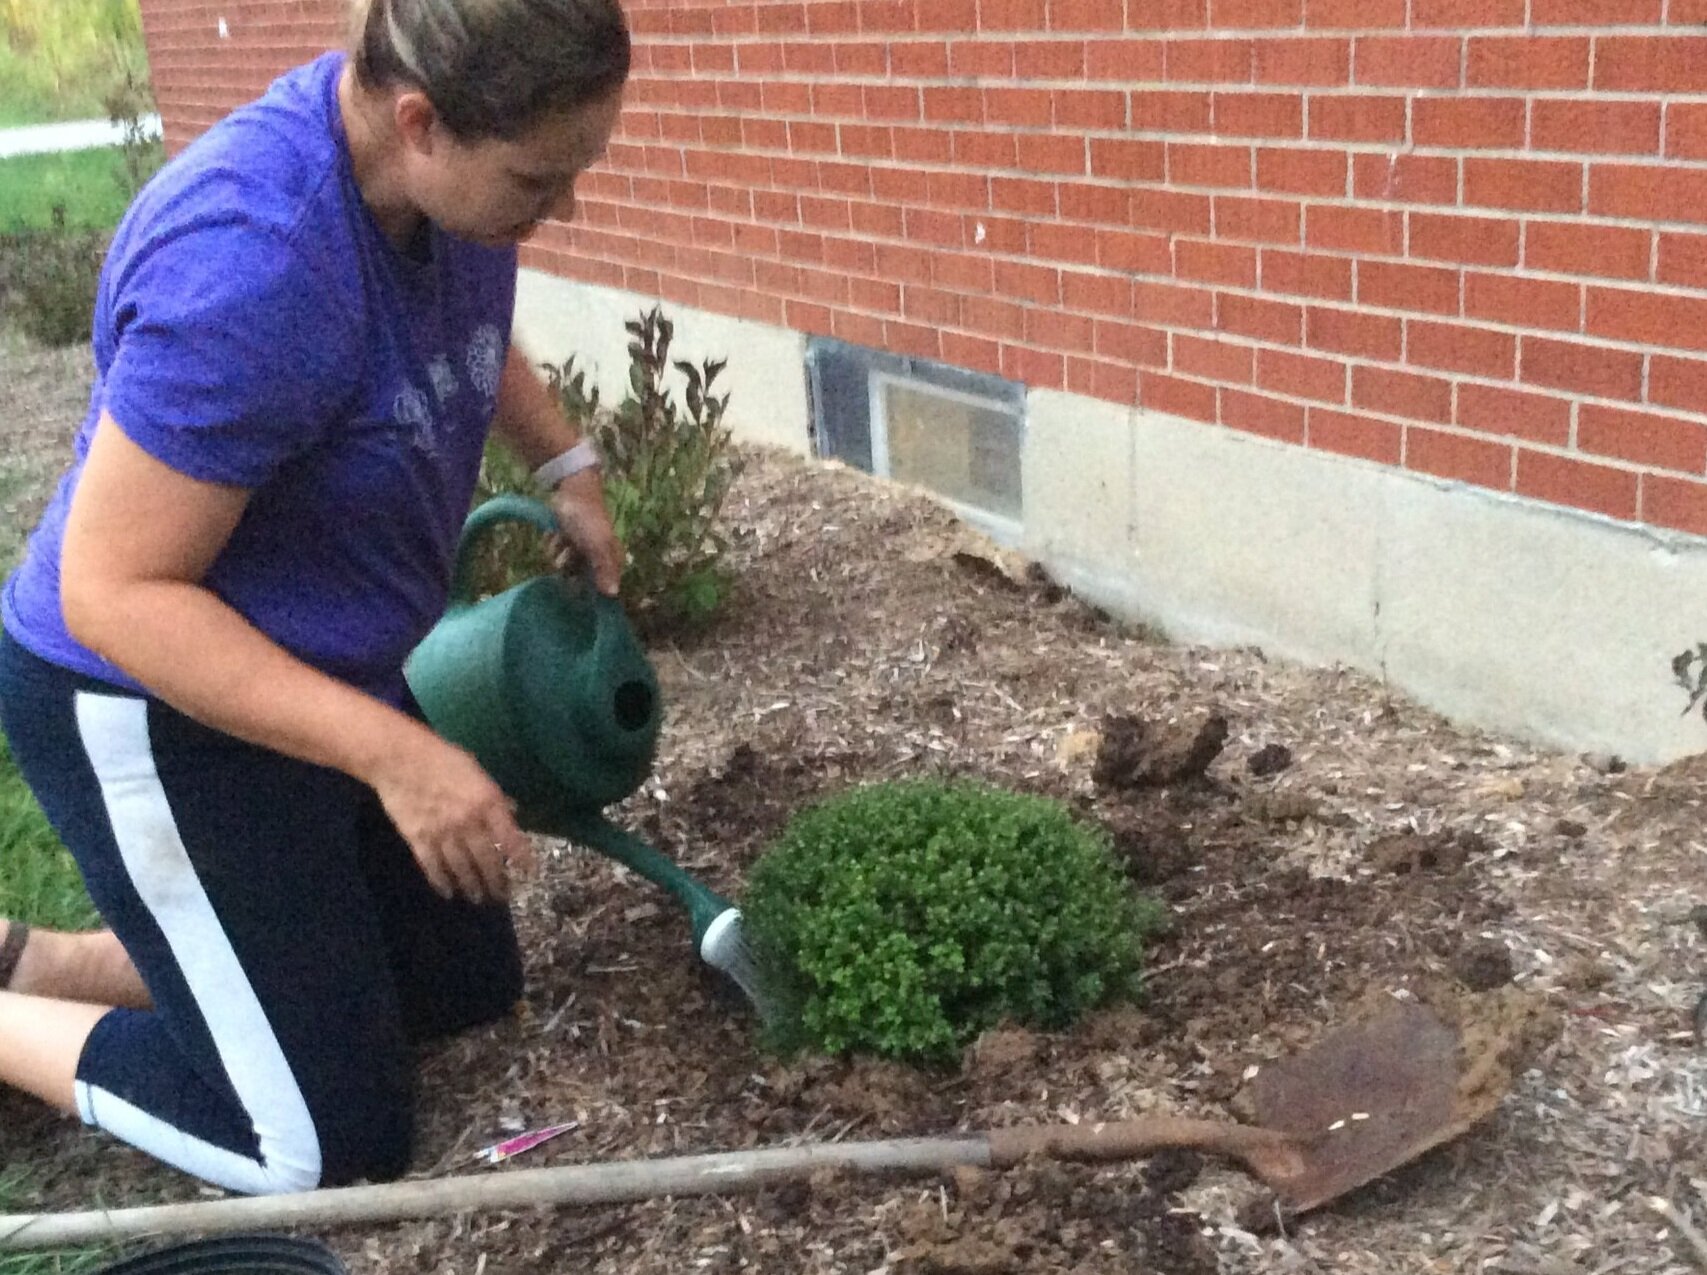
Water your freshly planted mum deeply. Let the water soak in between waterings. If you have any root stimulator to add to the water, this can give a jumpstart to your roots. This is totally optional. If you do not have any on hand and in a pinch it is not necessary. It is more important to plant your mums early than using the root stimulator. Also if your soil
If the landscape area had mulch or rock its ok to add that to the base of the mum. This step will also help keep the moisture in around the roots.
I hope this step by step guide will help your mums to bloom year after year! Remember if you want a live demo click HERE! Do you have a tip that works that wasn’t mention above? I would love to hear your go to planting tip! This tip could help me and other gardeners!
P.S. Sorry these pictures aren’t steller….that’s what happens when you ask your 11 year old son to take pictures during recording. :-) next years revised version will be better!
Thanks Friend!
Carrie